Welcome to Barbara Joyce's Blog
February 20, 2010
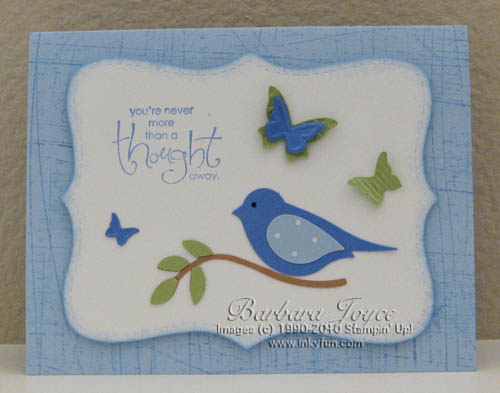
I've been patiently (NOT!) waiting for my 2-step bird punch to arrive. It finally came today.
This punch makes the bird, wing and branch.
I sat down and made this card in no time flat. Between the punch and the Big Shot (Top Note Die and
Beautiful Wings Embosslit), the card almost made itself! And I realized I've been so in love
with this year's In-Colors that I've been neglecting my pretty blue colors. The sentiment is
another stamp from the Sale-A-Bration set, Whimsical Words. I hope you
like this card!
February 19, 2010
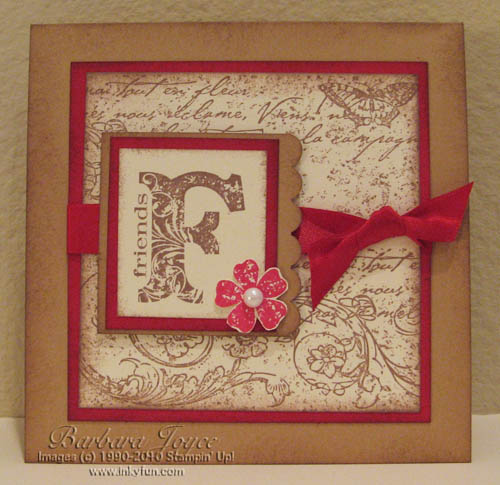
I've been enjoying the new stamp set, Vintage Vogue. My February 10 post shows one
card that I made with this set; here's another.
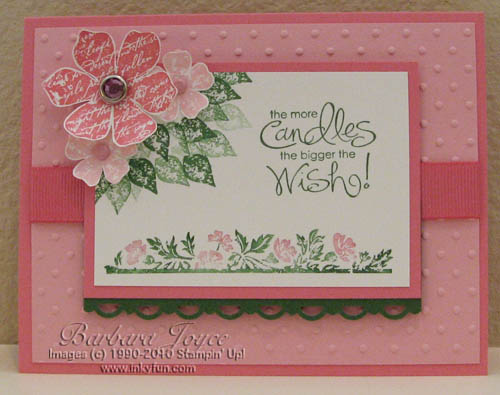
The colors in this card are Whisper White, Pretty in Pink, Regal Rose and Garden
Green. It also uses the new Scallop Trim Punch that you can get for free during Sale-A-Bration,
some pink brads and a rhinestone brad, as well as a strip of Regal Rose grosgrain ribbon. The
sentiment is from the set "Whimsical Words," which you can also get for free! It
is available in wood mount or clear mount.
Thanks for stopping by!
February 17, 2010
It's a frequent joke among demonstrators that we are our own best customers. I don't know
whether that's always the case, but it's certainly true of me! I got this set, "Things I Love,"
FREE as part of my Sale-A-Bration freebies. I love free stuff!
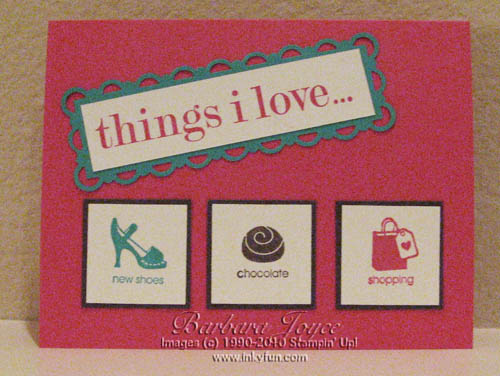
As you might guess, the inside says, ". . . but most of all, YOU!" I think this set would
make a great card for an anniversary or birthday, and I know it was used a bunch for
Valentine's Day.
February 12, 2010
I sent out some Thank You notes to customers for orders and sign-ups, and I thought you might
like to see them. This card is made using the new Perfect Polka Dots Embossing Folder for the Big shot, and also
the amazing new Beautiful Wings Embosslits die, also with the Big Shot. This amazing gadget turns a scrap of
cardstock into a bevy of beautiful butterflies with a couple of cranks of the Big Shot handle!
It occurred to me that
size/scale isn't necessarily easy to judge when
you look at a card online. This is a little 3 x 3 card.
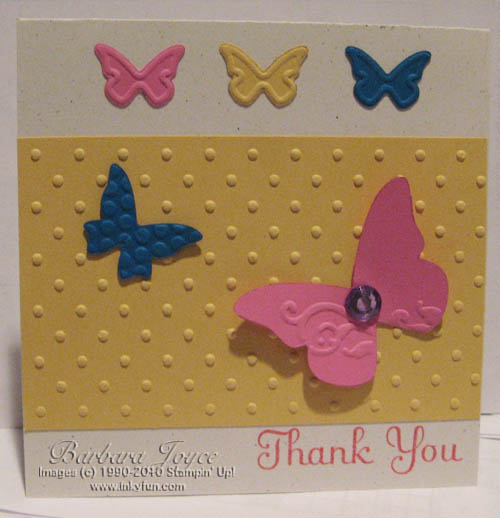
BTW, the Real Red and Creamy Caramel Vintage Vogue card just below is a generous 5-1/4" x 5-1/4" size.
February 10, 2010
I'm back with the first of several cards made with the beautiful new set, Vintage
Vogue. It's in the Occasions mini-catalogue, and it's available in both wood mount and
clear mount. The stamps are the same high-quality red rubber either way, and I am
falling in love with the clear mount. Advantages: takes up much less storage space,
costs less, saves a tree! Also, since you can see right through the acrylic block,
it is easy to place elements without always having to use the Stamp-A-Ma-Jig, which
saves a lot of time.
This card also uses the coordinating wheel, Very Vintage, which I absolutely love!
EGA girls, this is one of the cards you'll be making at your stamp camp in March.
January 17, 2010
We're back from our wonderful week in Hawaii. The warm sun was wonderful, but
Dorothy was right. There's no place like home!
I'm a little behind on getting the Sale-A-Bration and Occasions brochures on my
blog. If you haven't received your copies of the brochure, just let me know and I'll put
them in the mail to you. Please
send me email with your request.
It felt so good to play with my stampin' toys again today. This card uses a beautiful
set with an Asian theme, Dream Garden. It uses a retired Designer Series paper called Haiku, which
I love and really miss. I am using what I have left very sparingly!
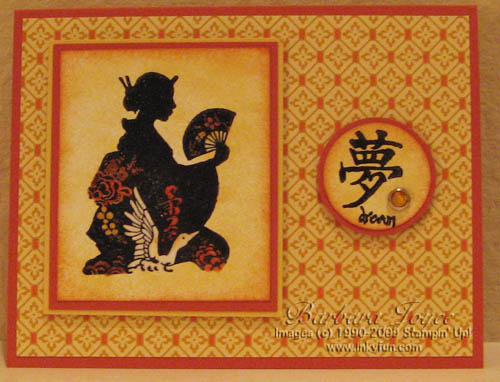
To make the center design, I stamped the woman with black Craft ink and heat embossed it
with clear embossing powder. I colored in her dress and fan with markers. Then I went over
the colored parts and the white bird with a VersaMarker pen and clear embossed again. The last
step was to sponge So Saffron ink all over the white cardstock, with Tangerine Tango sponged
on the edges.
December 28, 2009
Lemonade Time!
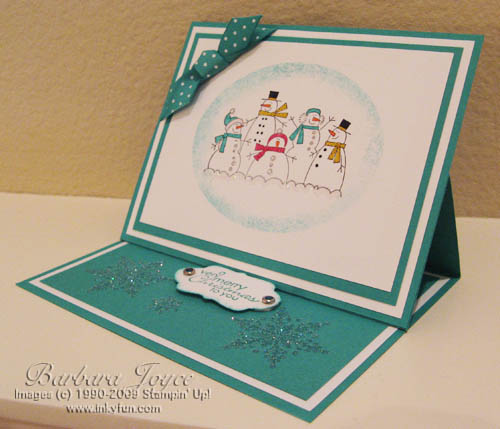
Merry Christmas! Yes, I know I'm a little late, but I had to wait to show my Christmas card
until all the recipients had received theirs. I "borrowed" the color scheme from the very talented
and creative
Lee Ann Greff.
Funny story, I made about a dozen of this card. They were the regular size and kind, with the fold
along the top. When I came to signing and putting them in envelopes,
I realized, much to my horror, that one had the fold at the bottom!
Well, that gave me the perfect opportunity to turn a lemon into lemonade. I'd been wanting
to try an easel card, but just hadn't gotten a chance to
do it. I cut the card front
off, just a hair above the fold line, and this is what I came up with. The neat thing is, this card
folds up and fits into a standard A2 envelope, just like a regular card!
Want to learn how to make easel cards? Sign up to host your own Stamp Camp, and we
can add this style to your projects!
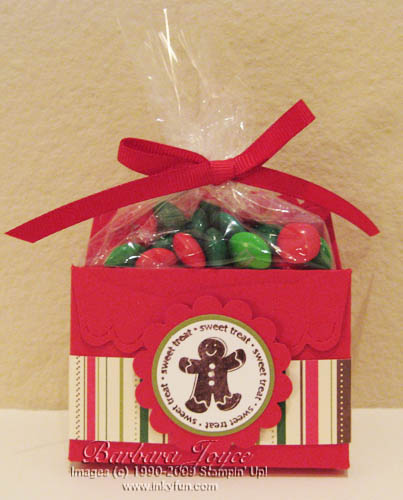
We spent Christmas Eve with our son-in-law's family. We had such a good time, meeting
some new people and catching up with those we hadn't seen in a while. I made these
Treat Box favors for their niece and nephews, and they were a big hit!
These little boxes are made with two of the Scallop Envelope die and the Big Shot.
You just trim the bottom flap to 1/2" and glue the flaps to each other. One scallop stands
up at the back, and one folds down at the front. The gingerbread man is from a retired
hostess set called "Deer Friends."
Newer Posts
Older Posts
|